Garage Parking Assistant Arduino Project Hub
Velocity (v) = Distance (s)/time (t). ⇒ Distance (s)= Velocity (v) X time (t). As we know the speed of the sound in air is 343 meters per second (1234.8kmph) at 20°C, and we can measure the time between the emitter and receiver. By multiplying speed with time we can calculate the distance.

DIY an Arduino Ultrasonic Garage Parking Assistant Open Electronics
Step 1: Parts List Arduino Nano Rev3 HC-SR04 Ultrasonic distance sensor (around $0.76) 7 segment 4 digit 12 pin 0.56" LED display ($1.77) DS3231RTC breakout board ($0.87) Ambient Light Sensor breakout board ($0.40) 2 of 74HC595N Shift register IC ($0.54 a 10 pack) Red LED Green LED 4 of 220 Ohm resistor 1 of 560 Ohm resistor Notes

Arduino Parking Sensor Arduino Project Hub
Once the code is written and uploaded to the Arduino Uno board, you can test out the Garage Parking Assistant. Park your car in front of the garage door. As soon as the ultrasonic sensor detects that the car is in the right spot, the lights will turn on and the buzzer will beep. Here is an example source code for an Arduino garage parking.

Arduino Garage Parking Sensor YouTube
Step 1: Parts Arduino - any board Infrared proximmity sensor (pic 2 & 3 - both are functional) 330r resistor some LED 's Servo motor - any model or size you wish. Step 2: Making the LED Display To make this LED display I have used a piece of bredboard then soldered the LED's and the 330r resistor. Then just added a ribbon cable for nice finish.
ParkAid Garage Parking Sensor Adjustable & Programable Wireless
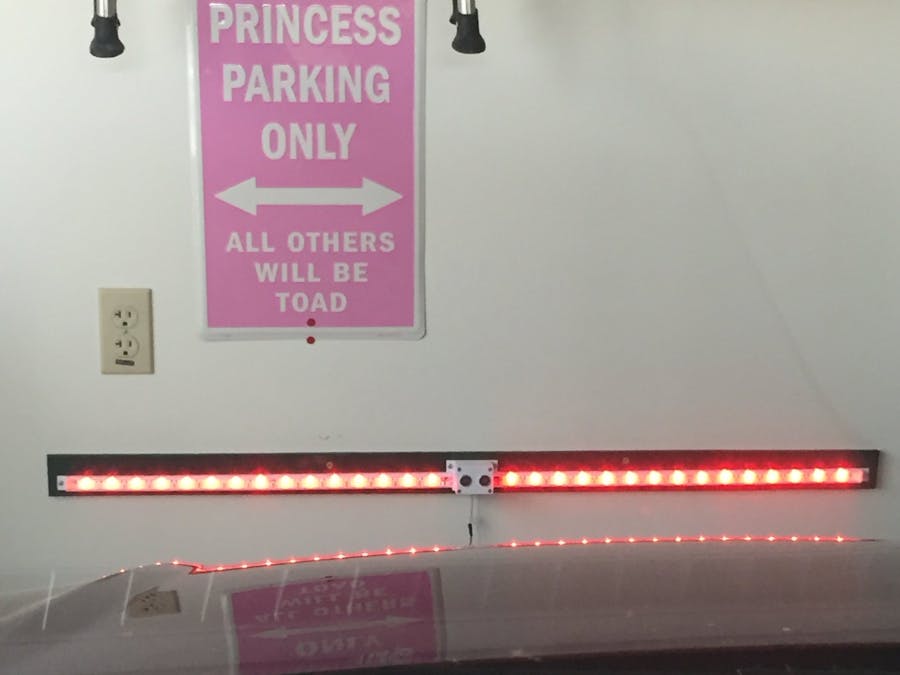
This is a garage parking sensor using addressable RGB LED's to provide feedback to vehicle driver as they approach and finally reach stop (park) position. See video in action:
Arduino Uno Parking Sensor YouTube
Project description This is a garage parking sensor using addressable RGB LED's to provide feedback to vehicle driver as they approach and finally reach stop (park) position. See video in action: Garage Parking Sensor
Parking Sensor with Arduino Hackster.io
Step 1: Materials You will need: An Arduino (I'm using an Leonard but you can use any of the Arduino boards) Ultrasonic Sensor (HC-SR04) RGB LED or you could use different single LEDs Breadboard Jumper Wires Simply enough, Let's get started! Step 2: Step 1: Breadboard

Adjustable Garage Parking Sensor Brookstone
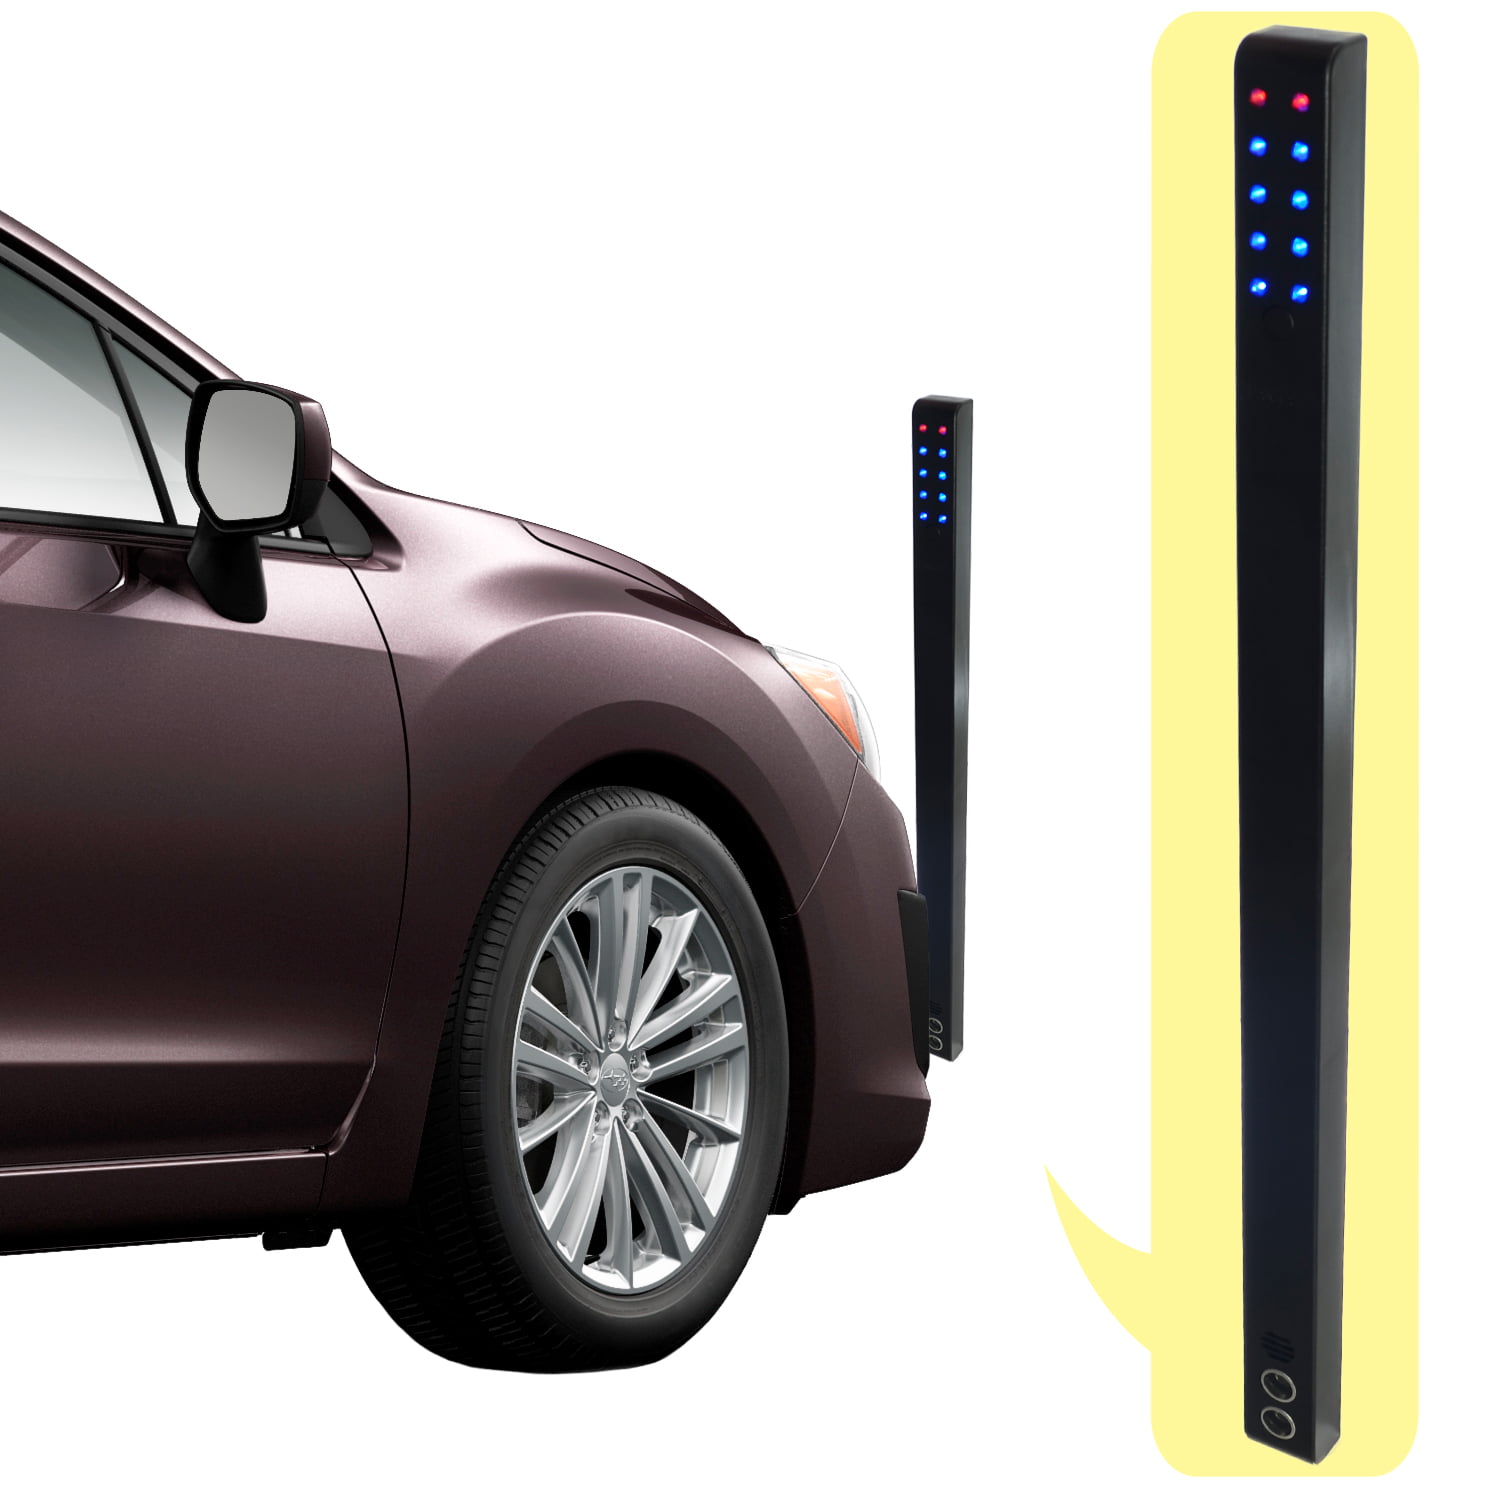
Those of us who have small garages know the frustration of parking a little bit too far in or a little too far out and not being able to walk around the vehicle. We recently bought a larger vehicle, and it has to be parked perfectly in the garage to walk around the front and back.

CICMOD Parking Assistant Sensor System for Home Garage, Car
What is a parking sensor? The basic premise is that the closer a reversing car gets to an object, the greater the frequency of beeps from a buzzer. Eventually if the car gets too close to an object, the buzzer will remain on continuously. Ask Question Step 1: Construction!

Arduino Powered Garage Parking Sensor Make in 2021 Arduino
Hello everyone! In this video, I walk you through the process of making an ultra-sonic distance sensor parking light! It works by taking the distance from th.

Rangefinder for Garage Parking with Arduino Arduino projects diy
Garages - prices and terms of parking. Public garage Gorica; Public garage Langov trg; Public garage Petrinjska; Public garage Rebro; Public garage Svetice; Public garage Tuškanac; Public garage Jelkovec 1; Public garage Jelkovec 2; Public garage Kvaternikov trg; Locations of garages in the city of Zagreb.

Garage Parking Sensors
The green wire from the LED strip is the Data wire, red is Power, and white is Ground. Connect the white wire to the ground of your power source, and the red wire to 5V of the power source. Connect the green wire to Digital 3 on the Arduino. I used a 1 meter, 60 count LED strip and cut that in half to make two separate garage sensors.

Car Parking System Arduino Project Hub
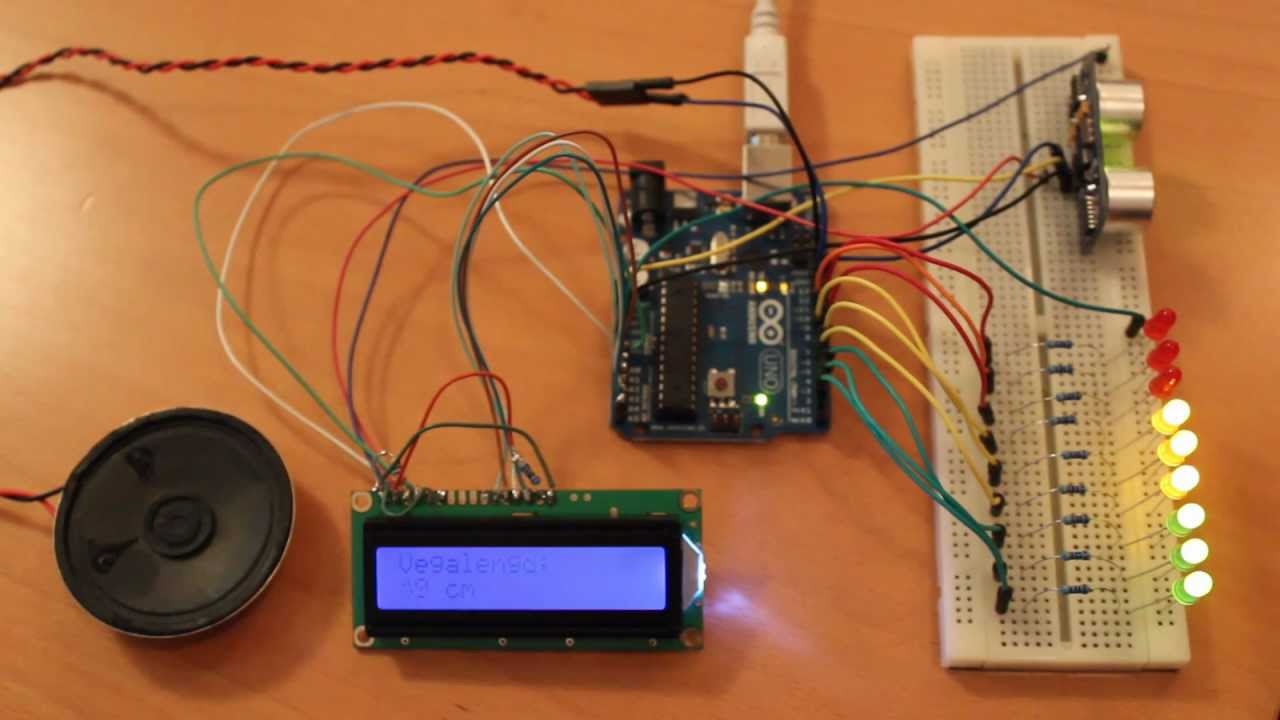
Step 2: Hardware Requirement. For this very simple project we need: - A Perfboard. - An Arduino nano/uno (whatever is handy) - A Red, Green and a Yellow LED (Light Emitting Diode) - 3 x 220ohm resistor for the LEDs. - One HC-SR04 Ultrasonic Sensor. - A Buzzer shield or A buzzer and a 100 ohm resistor. - A 220v AC to 5v DC Buck step-down module.
GARAGE PARKING SENSOR USING ARDUINO project
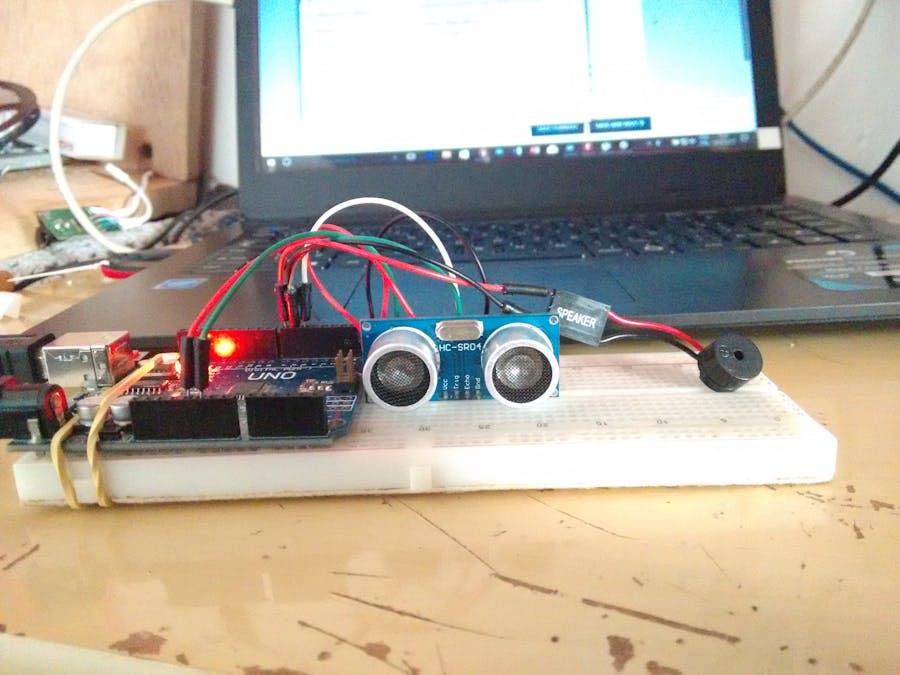
This parking sensor with Arduino is an easy project. Jul 8, 2017 • 65003 views • 34 respects parking sensor Components and supplies 1 Ultrasonic Sensor - HC-SR04 (Generic) 1 Arduino UNO 1 Jumper wires (generic) 1 Buzzer Apps and platforms 1 Arduino IDE Project description Code hardware c_cpp // 6 trig , 5 echo

Parking Radar Sensor Hackster.io
Using an Arduino as a garage car parking sensor. "M-my lord, it-it's impossible to locate the ship. It's out of our range.". - Nute Gunray. We recently moved into a new house and as always the first problem to address was finding the optimal place to park cars in the garage. Ideally, we wanted to park the cars as close to the garage.

Parking Sensor Assistant Arduino Project Hub
Arduino offers a better solution. This Garage Parking project is the electronic version of the classic tennis-ball-on-a-string device, only better. The Garage Sentry accurately detects when your car reaches exactly the right position in the garage and sets off an alarm that blinks so you know when to hit the brakes.